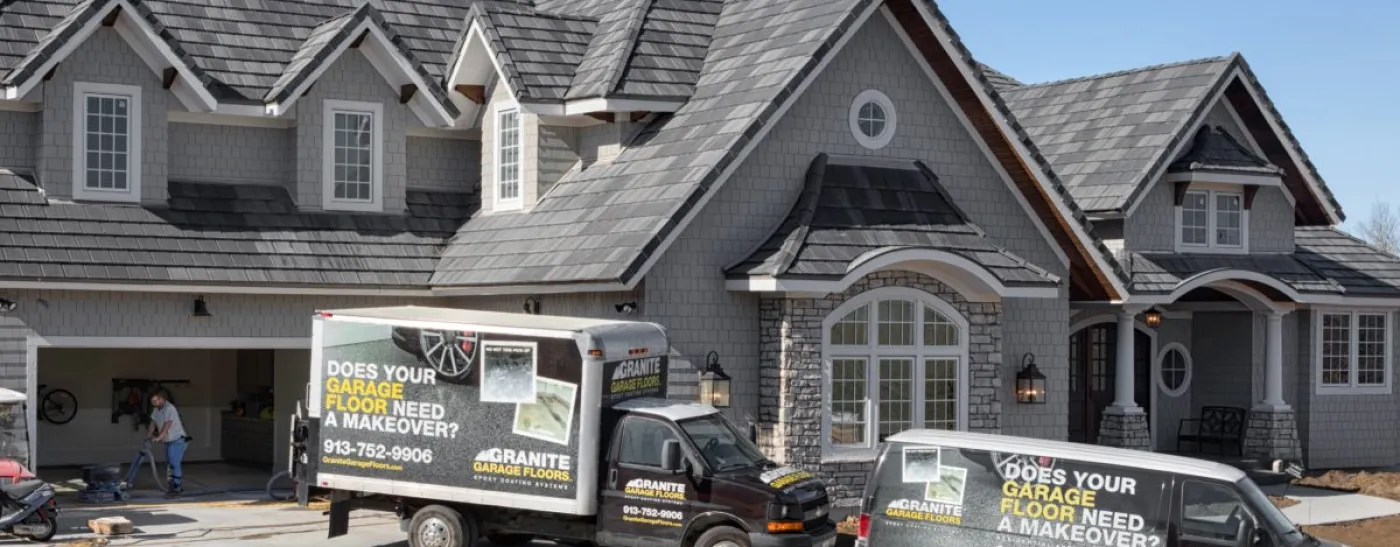
Our
Process
Finish Quality Is
Our #1 Priority
At Granite Garage Floors, our coating systems are professionally installed with extreme focus on surface preparation and the utilization of best-in-class, industrial-grade materials. Both aspects are extremely important for a quality installation that is guaranteed against peeling or hot-tire pick-up - the most common failures for coated garage floors.
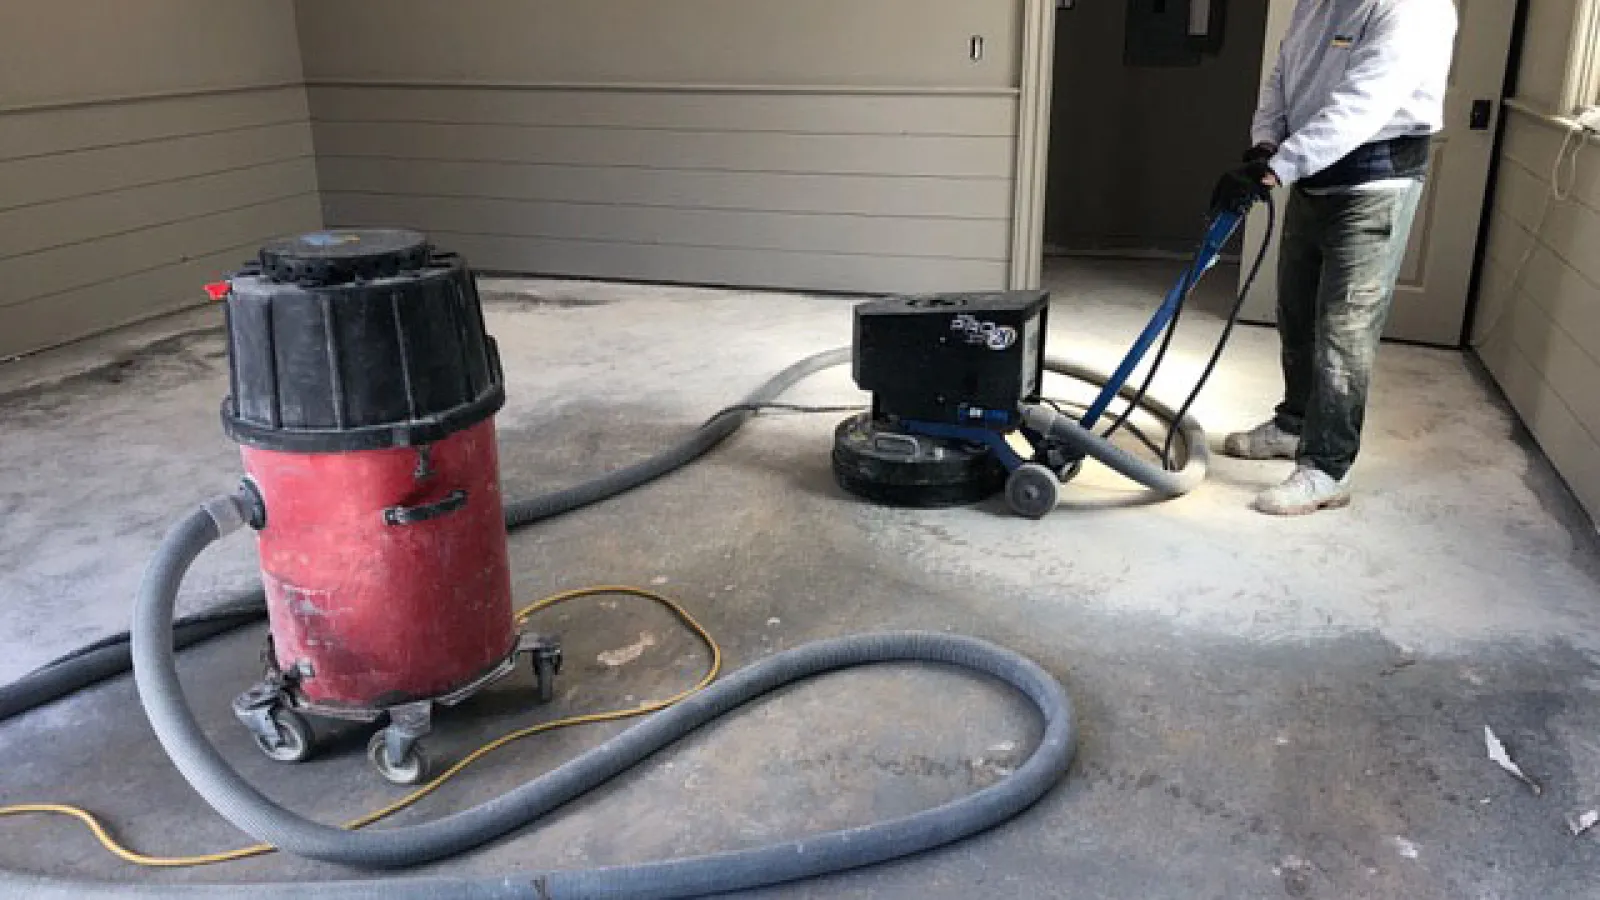
Step 1: Garage Floor Surface Preparation
At Granite Garage Floors, the preparation of the garage floor is of utmost importance and is critical to ensure maximum adhesion of our coating systems. We begin by grinding your concrete floor utilizing walk-behind diamond floor grinders to create an industry standard CSP3 (Concrete Surface Profile). All of our are grinders are attached to HEPA-filtrated, industrial vacuum systems which capture the majority of the dust created throughout the process. This step removes any unwanted stains or previously applied materials resulting in a concrete floor that is clean and porous, which allows our coatings to penetrate deep into the substrate and create a tenacious mechanical bond. Upon completion of this process, we inspect the entire floor and begin to make repairs to all cracks, fissures, and spalling concrete utilizing a variety of epoxy and polyurea concrete repair systems that have varying degrees of elastomeric properties. This step restores the integrity of the existing concrete substrate prior to it being coated.
Step 2: Primer & Base Coat Application
We use industrial-grade coating systems which are low VOC and LEED compliant, manufactured by a select few of the largest and technologically-advanced, polymer coating suppliers in the country. Our best-in-class, industrial products are made specifically for Granite Garage Floors as you will see our name on every bucket, drum, and vessel seen on our installations. We mix the material on-site utilizing a formula based on the dimensional square footage of the space to provide maximum durability and mil-thickness build. The product is then poured onto the concrete floor and applied evenly using a squeegee, which forces the epoxy into the open pores of the concrete. The product is further distributed using large rollers until a uniformed finish is achieved. This step of our system uses pre-tinted solid color epoxy which coordinates with many of our flake blends, or it may be used as a stand-alone coating. Additionally, this method may be used with one of our transparent sealers to provide an economical approach to the polished concrete look.
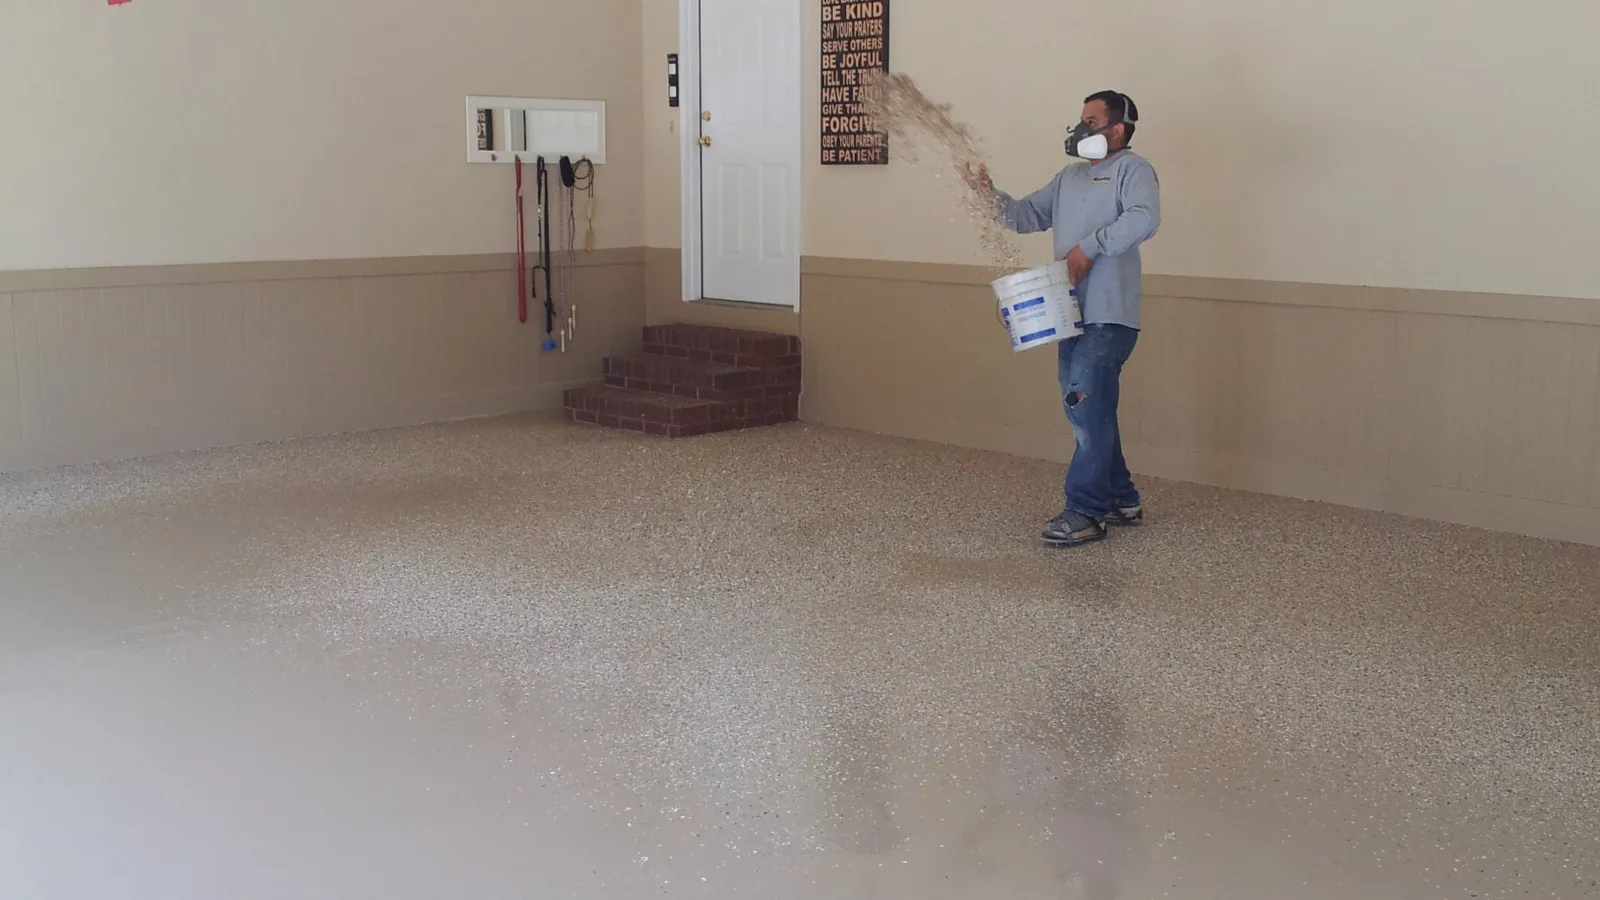
Step 3: Flake Distribution
Our decorative flakes are broadcasted by hand into the wet basecoat to allow for the flakes to chemically bond with the epoxy base coat and provide the look of Granite, Quartz, Stone, or Metallic. We apply the flakes to rejection or at a minimum rate of 25lbs. per 100sqft, which completely covers the floor and hides many of the imperfections. This step is critical toward providing build, durability, and impact resistance to the system, and is ultimately what makes the surface look like a Granite or Quartz countertop. We have many designer finishes to choose from that can complement the color palette of the interior or exterior of your home, or we can even custom blend your own one-of-a-kind finish. Our Terrazzo finish includes a light partial broadcast of flakes or sand, providing a durable & clean-looking garage floor.
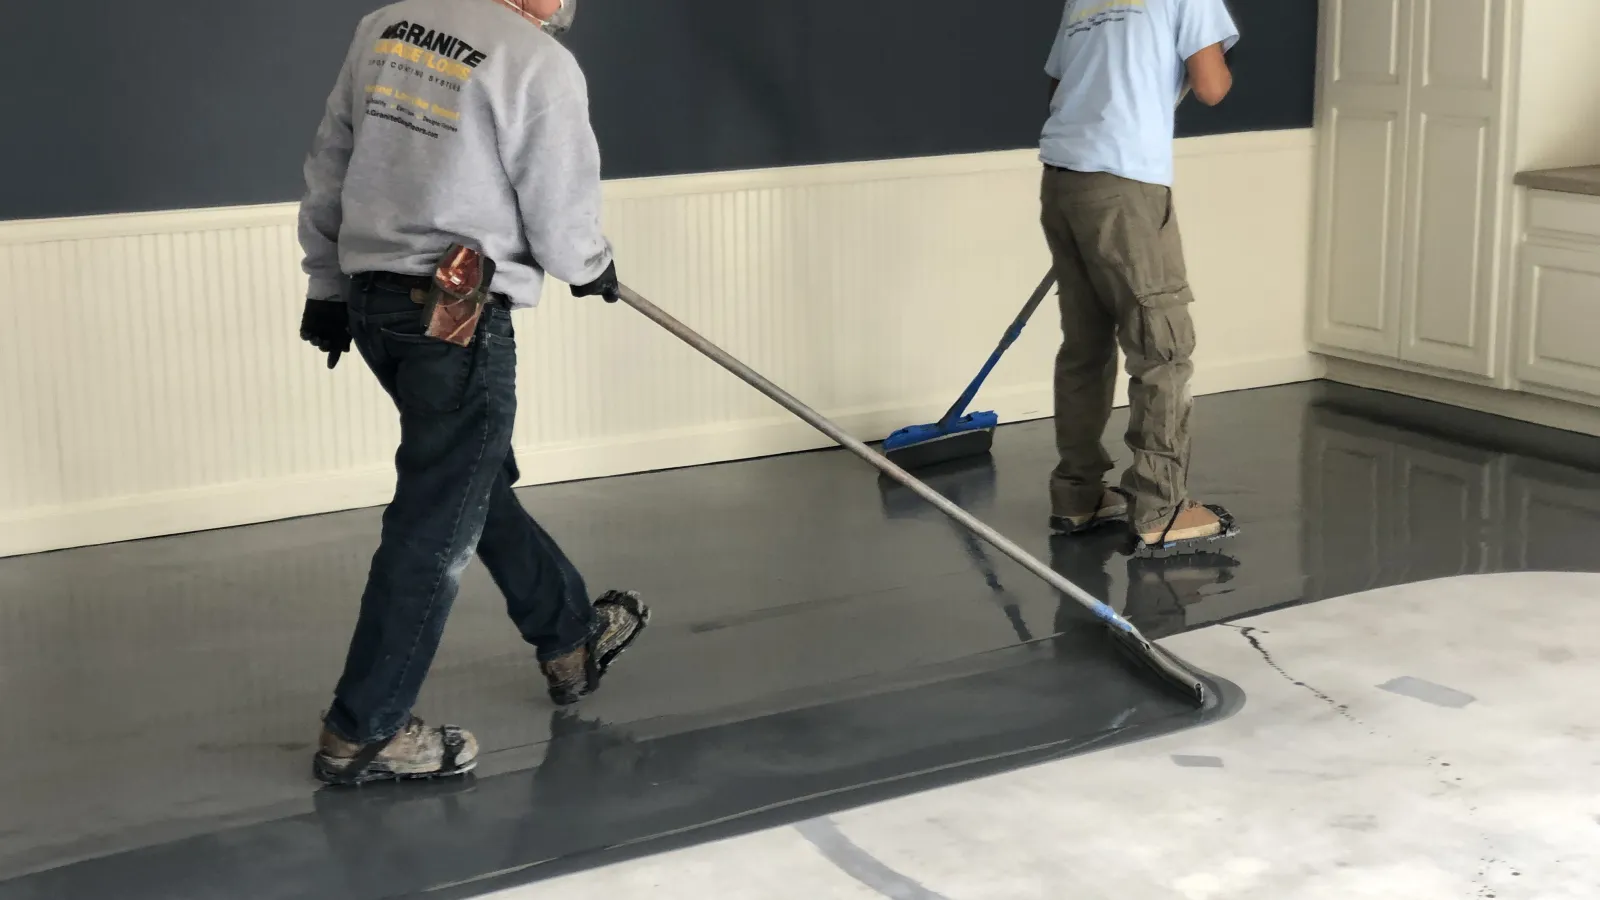
Step 4: Protective Clear Coat Application
The final step in our signature process is to seal the flakes into place providing an extremely durable surface that is chemical resistant and easy to clean. This includes reclaiming the loose/excess flakes and scraping the floor, revealing a uniform surface. We then mix the clear coat sealer on-site utilizing yet another formula based on the area’s dimensional square footage and apply the material utilizing a squeegee and back-rolling method to create a consistent “orange peel” texture. The final texture has anti-slip properties, but also is extremely easy to clean. We have a variety of clear coat sealers available based on the needs and durability of the system to include our best in class Polyaspartic system, which provides the ultimate in chemical & abrasion resistance, elongation, and UV stability. Additionally, we may use Epoxy, Polyaspartic/Polyurea, or Urethane clear coat based on individual performance requirements.

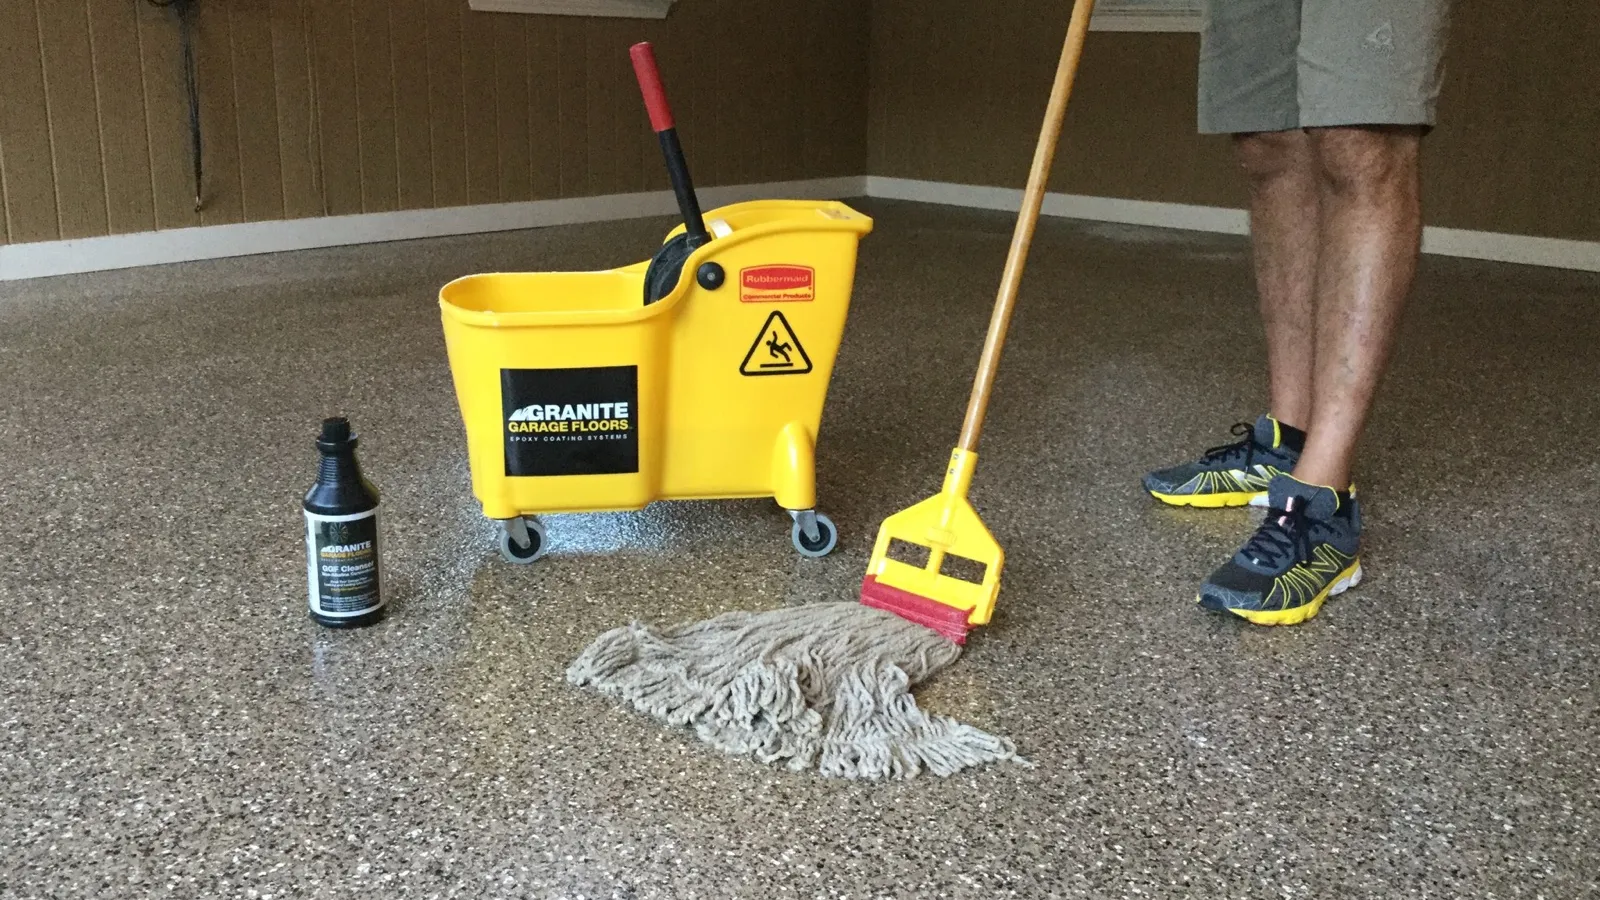
Step 5: Return-to-Service & Cleaning
Our process can take up to a day or two to install which allows for a quick return to service. In less than 24 hours, your concrete garage or basement floor is open to foot traffic and replacement of your contents. Depending on the system installed, your new Granite Garage Floor can accept vehicular traffic in less than 72 hours. Once completed, you will have a garage floor that "Looks and Lasts like Granite", extending the interior beauty of your home into your garage.
The key towards ensuring that your garage floor looks great over the years is to keep it clean! Removing dirt and debris with a blower (weekly), wiping up spills, and mopping (seasonally) with water and a pH neutral cleanser will go a long way toward protecting the finish over the long-term. Professional cleaning available in select locations.